Installation Guide
This guide provides a comprehensive overview of the steps required to install Ditto Hybrid Platform in a Windows Server environment. For support, demonstrations, or additional information regarding the Ditto product, please contact an Innocop representative.
Important
Ditto Hybrid Platform Web Client is built on the Java Spring Framework and operates on the Apache Tomcat Server. Before deployment, ensure that all prerequisites and configurations are fulfilled to guarantee optimal performance and functionality.
Minimum System Requirements
To run the base version of Ditto Hybrid Platform, the following components are required:
Component
Version
JDK
11
Apache Tomcat
9.0.63
MySQL
8.0.27
Recommended Requirements
Since 3.0.1 version release, Ditto Hybrid Platform introduces powerful new features that allows users to implement their own custom Python-based models for project evaluations. To take full advantage of these updates, additional software and tools are required:
Component
Recommended Version
Purpose
Python
3.12.3 or later
Supports new data processing features
Apache HTTPD
Latest stable version
Enables efficient web serving and reverse proxying
C++ Build Tools
Latest stable version
Required for compiling native modules
mod_wsgi
Compatible with Python 3
Connects Python-based features to Apache HTTPD server
Preparing the Runtime Environment
Install JDK 11: Download and install JDK 11 from the official Oracle or OpenJDK website. Ensure that the
JAVA_HOMEenvironment variable is correctly configured.Set Up Apache Tomcat: Install Apache Tomcat version 9.0.63. Ensure that the server is configured to use the JDK installed in Step 1.
Install MySQL: Install and configure MySQL version 8.0.27. Set up a database and user credentials for Ditto Hybrid Platform.
- Upgrade for New Features (Optional):
Install Python 3.xx or later from the official Python website. Ensure that Python is added to the system PATH.
Set up C++ Build Tools for Windows by installing the latest version from the Visual Studio Installer.
Install Apache HTTPD and mod_wsgi. Configure them to enable Python-based integrations.
Note
For a fresh installation on a new Windows Server, please refer to the Server Preparation section.
Accessing the Installer Files
The installer files for the Ditto product are available in the Innocop repository. You can download them using the links below:
Ensure you have downloaded the appropriate installer files before proceeding with the installation.
Ditto Hybrid Platform Web Client
Extract Ditto Hybrid Platform zip file that been downloaded
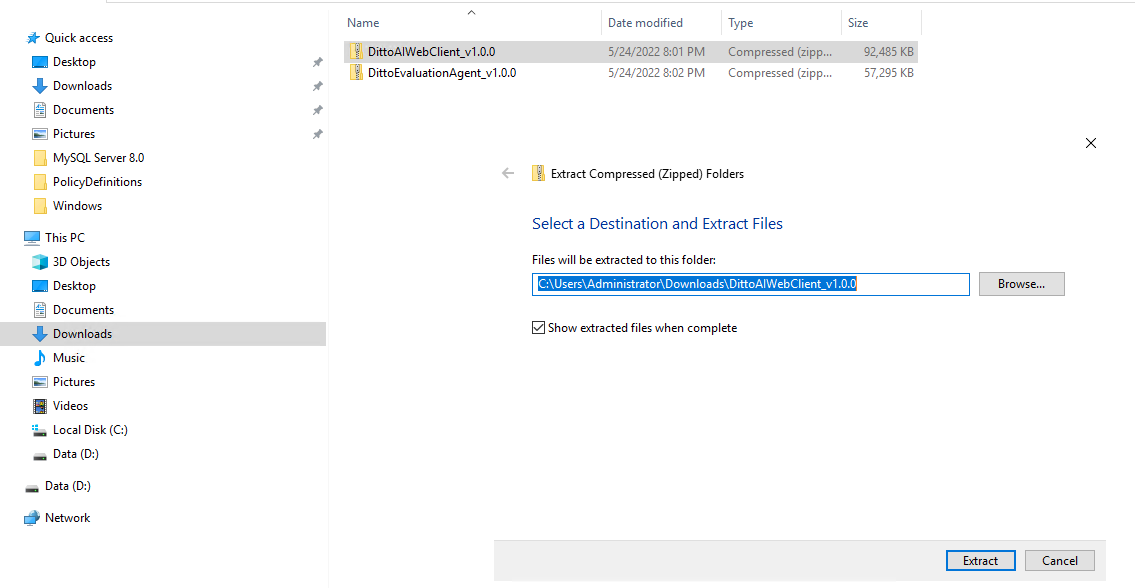
If default configuration of Tomcat used, go to
\webappsinside Apache Tomcat installation folder and replace ROOT.war file with WAR file from folder that unzipped in step 1Note
Default port of Apache Tomcat is 8080. To change this port, please refer to Tomcat Port Configuration and proceed to installation step below
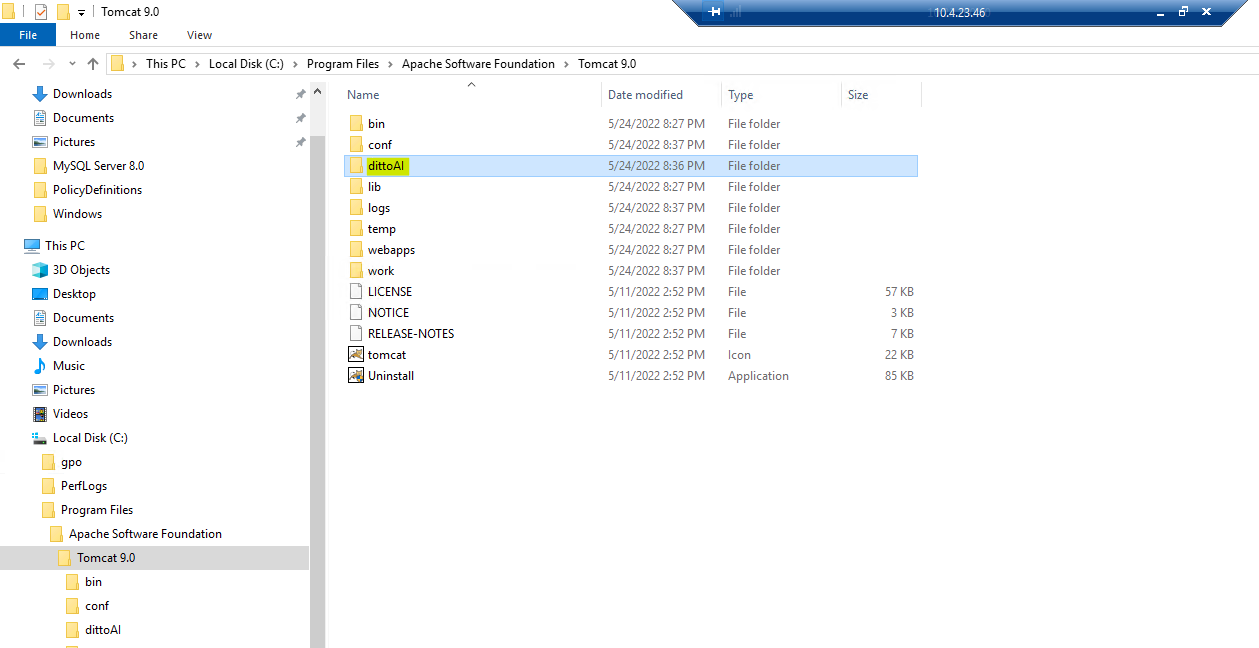
Create New Folder on Tomcat installation folder and assign its name based on appBase value that been configured at Tomcat port configuration. At this instructions, use dittoAI as new appBase.
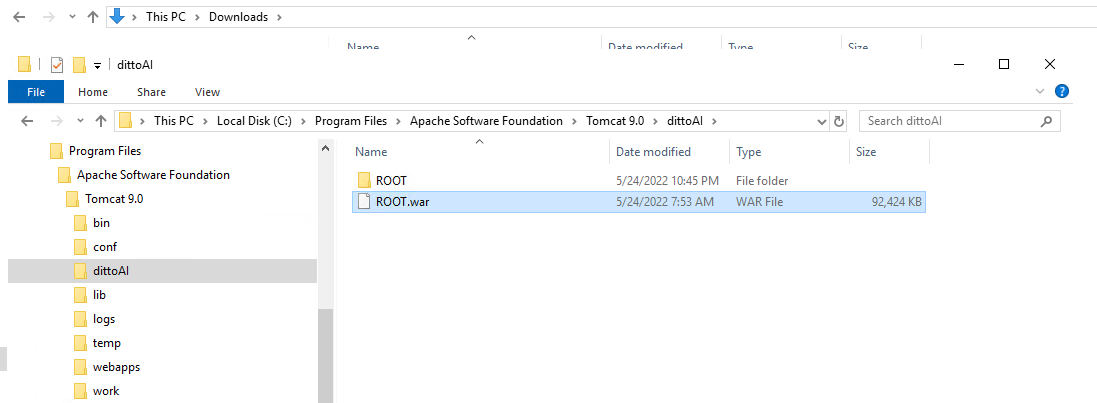
Move ROOT.war file into dittoAI or appBase folder that defined in step 3 above. Apache Tomcat will explode war file into ROOT folder like in figure below
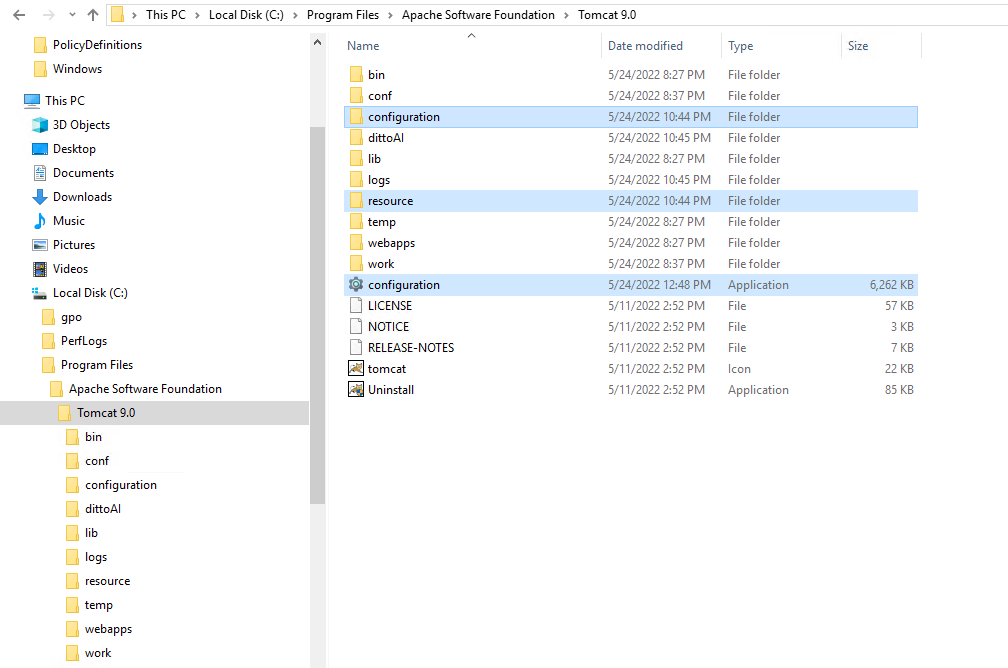
Put rest of extracted file into Apache Tomcat installation folder
Deployment has finished. Open any browser and hit URL http://localhost:YOUR_PORT to make sure Tomcat running on new custom port
Proceed to MySQL Configuration and LDAP Configuration before using the Ditto Hybrid Platform Web Client
Ditto Rulebased Evaluation Agent
Set Up Requirement
In order to get Ditto Rulebased Evaluation Agent processing data automatically when there are database changing, Ditto agent need to listening to database transaction/replication log. The first thing that need to do is enable replication in MySQL. In MySQL 8.0 and up, it is already enable by default. If in a case MySQL didn’t enable it automatically, do it as describe at MySQL Replication Configuration.
Running Ditto Evaluation Agent as Windows Services
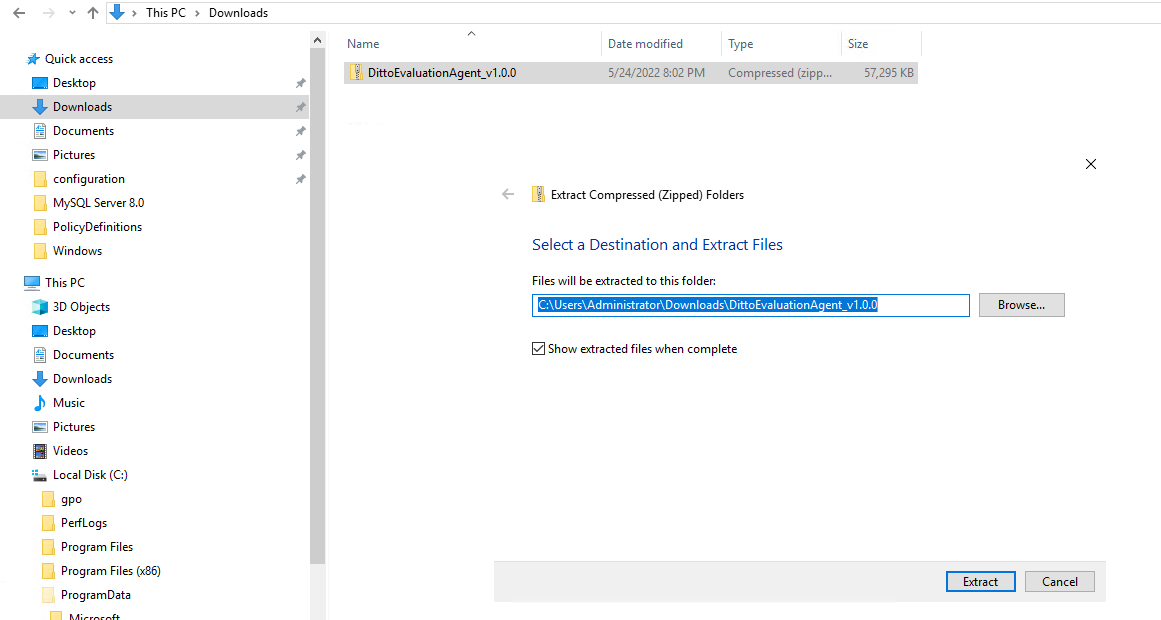
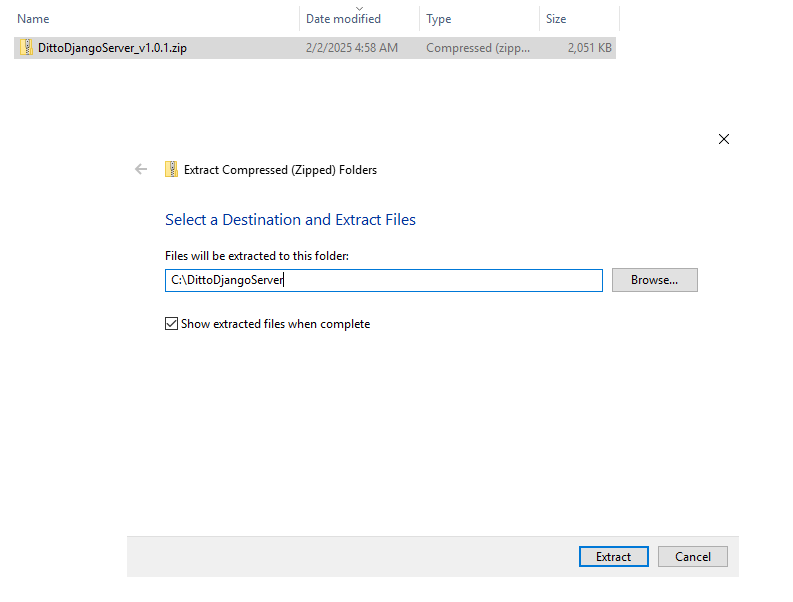
Extract Ditto Evaluation Agent zip file that been downloaded
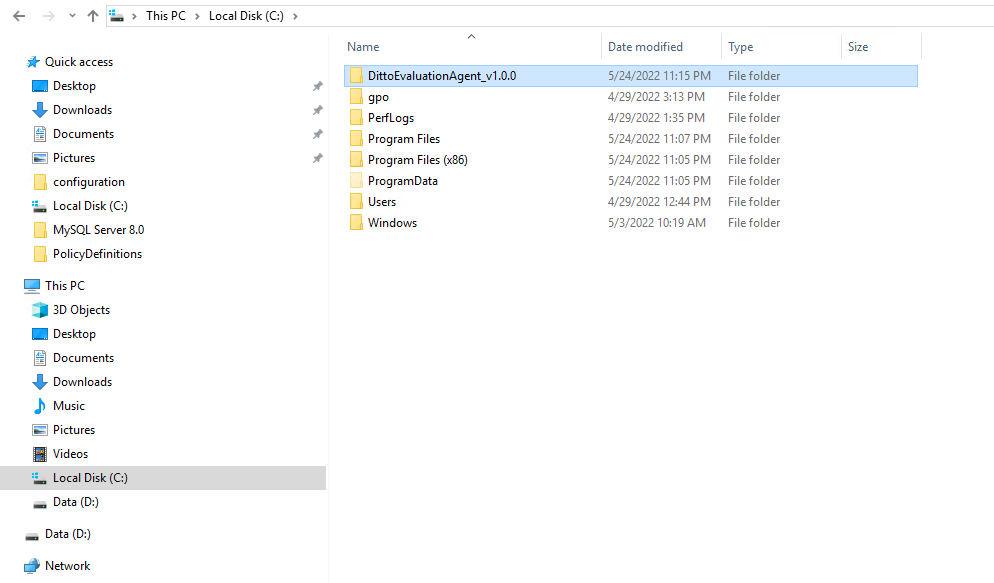
Place extracted folder to root directory (C:\)
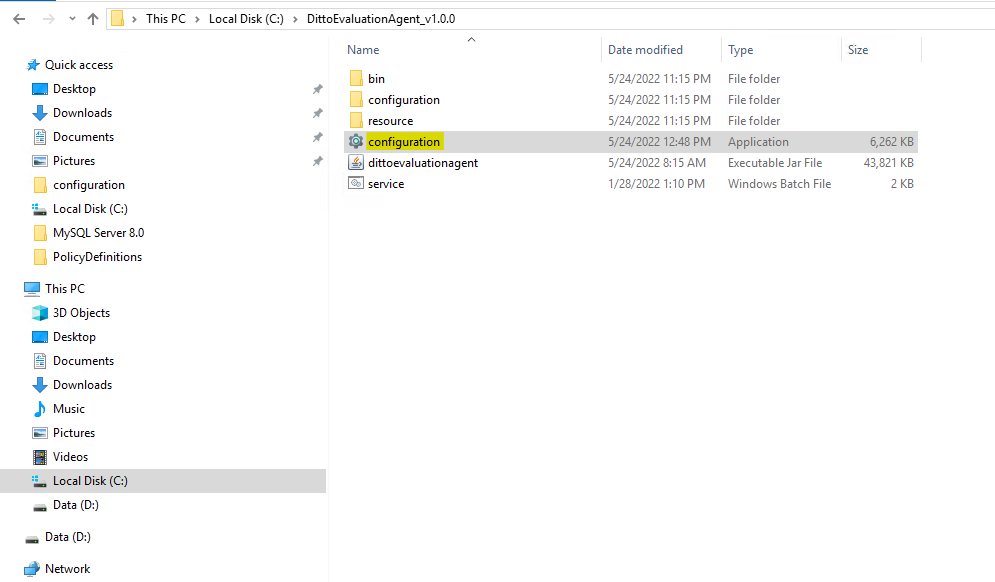
Run configuration.exe file to configure required information for Database connection. Refer to MySQL Configuration to fill the required field.
Note
Ditto Rulebased Evaluation Agent required only Database Configuration. It’s not necessary to configure LDAP properties.
Right-click at file
service.batand choose Run as Administrator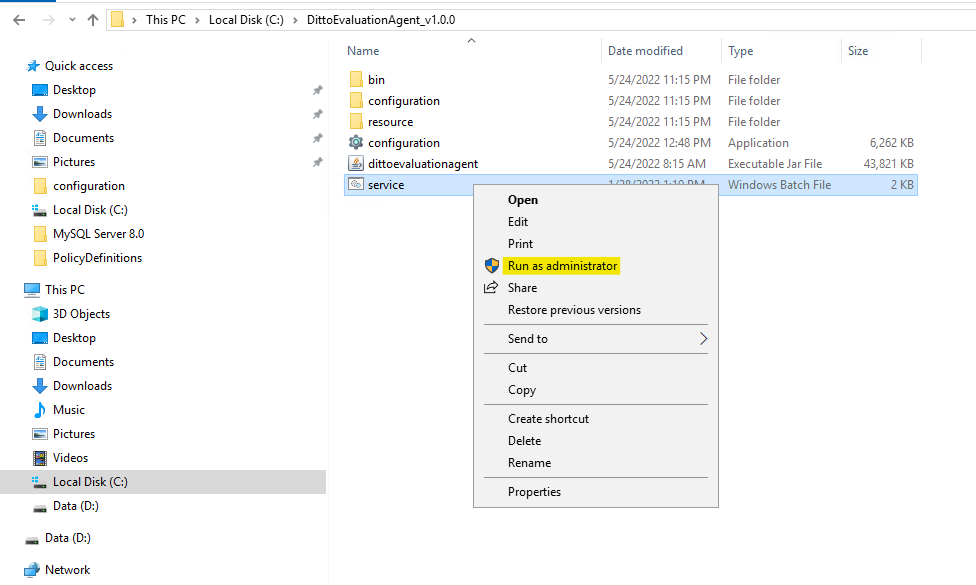
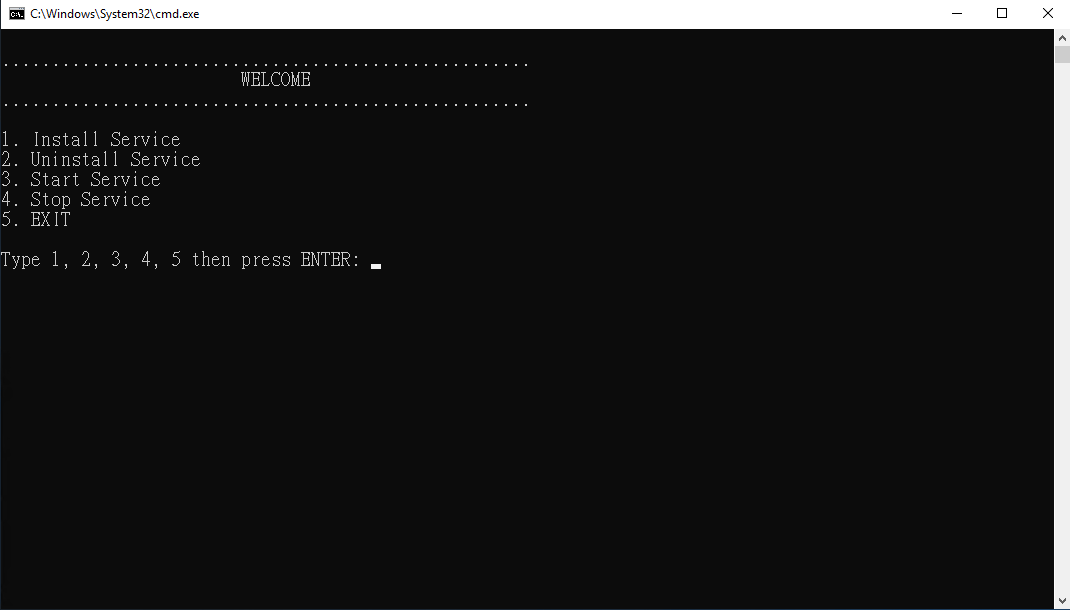
For running multiple agents services which monitoring different project, simply copy Ditto Evaluation Agent folder, change Agent_ID inside configuration/application.properties, then run
service.batagain. It will create another services for different project IDChoose option 1 to installing Ditto Evaluation Agent service
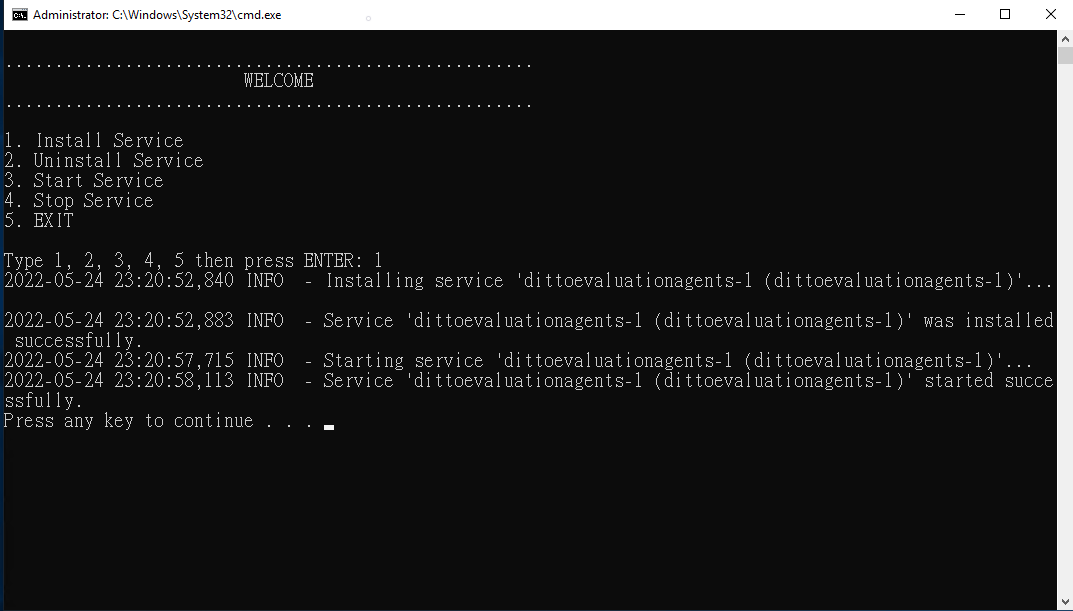
Open Windows Services and make sure dittoevaluationagent services has created. If database configuration that set in step 3 before were correct, dittoevaluationagent services will running automatically after installed

Ditto Django API
This documentation outlines how to deploy a Django application on a production environment running Windows Server with Apache HTTPD and mod_wsgi. Follow these steps to set up the required tools and configure the server to serve your Django application effectively.
This guide outlines the steps to install the Ditto Django API using an executable installer on a Windows Server environment with Apache HTTP Server. The installer is designed to streamline the deployment process, verify prerequisites, and configure the application for production use.
Prerequisites
Before starting, ensure the following prerequisites are met:
Apache HTTP Server: Latest stable version. Must be already installed and operational.
Python: Version 3.12.3 or later. Optional, can be downloaded later while installation.
C++ Build Tools: Required for compiling Python packages and mod_wsgi. Optional, can be downloaded later while installation.
Installation Steps
- Start the Installer
Extract Ditto Django zip file that been downloaded. Place extracted folder to root directory (C:\) or a directory of your choice.
Launch the Ditto Django Setup exe file.
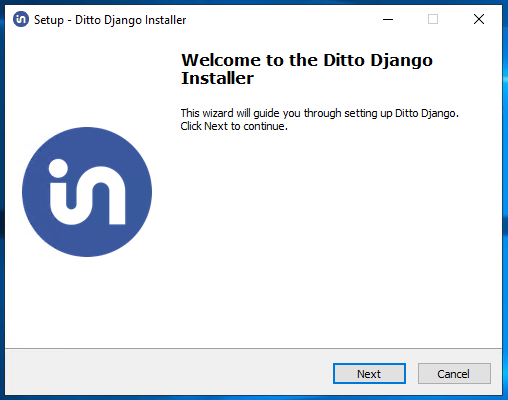
Follow the prompts to proceed with the installation.
- Provide Target Directory
The installer will prompt for the target directory where Apache HTTPD’s
htdocsis located.Enter the full path to the Apache
htdocsdirectory (e.g.,C:\Apache24\htdocs).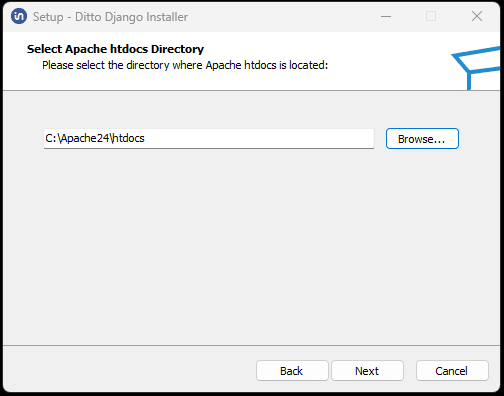
Check Prerequisites The installer will automatically check if the following prerequisites are met:
Python 3.12.3 or later is installed and added to the system’s PATH.
Apache HTTP Server is installed and operational.
C++ Build Tools are present for compiling Python packages and
mod_wsgi.- If the prerequisites are already installed:
The installer skips to the next step.
- If any prerequisite is missing:
The installer will proceed to download and install the required components.
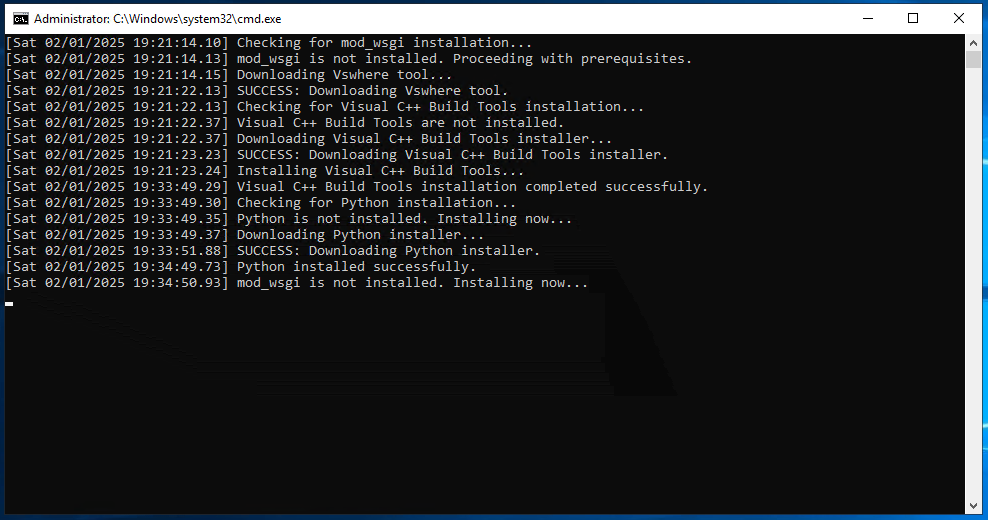
Install Required Applications If any prerequisites are missing, the installer will:
Download and install Python and set it up for system use.
Install C++ Build Tools to enable compilation of Python packages.
Install and configure mod_wsgi for Apache to support the Django application.
Deploy Application Files Once prerequisites are satisfied:
The installer will deploy the Ditto Django API files to the target directory under the folder
dittoproject.Static files will be placed in the appropriate subdirectory for Apache to serve.
The
wsgi.pyfile and required configuration files will be updated automatically.
Configure Apache HTTPD The installer will append the following configuration to your Apache
httpd-vhost.confautomatically:# START GENERATED CONFIG <VirtualHost *:80> ServerName localhost DocumentRoot "C:\Apache24\htdocs" LoadFile "C:/Users/user-name/AppData/Local/Programs/Python/Python312/python312.dll" LoadModule wsgi_module "C:/Users/user-name/AppData/Local/Programs/Python/Python312/Lib/site-packages/mod_wsgi/server/mod_wsgi.cp312-win_amd64.pyd" WSGIScriptAlias /api/django "C:\Apache24\htdocs\dittoproject\ditto\wsgi.py" <Directory "C:\Apache24\htdocs\dittoproject"> <Files wsgi.py> Require all granted </Files> </Directory> Alias /static "C:\Apache24\htdocs\dittoproject\static" <Directory "C:\Apache24\htdocs\dittoproject\static"> Require all granted </Directory> ErrorLog "logs/django-error.log" CustomLog "logs/django-access.log" common </VirtualHost> # END GENERATED CONFIG
Verify those lines already generated in configuration files to make sure installation process is succesfull.
Restart Apache will be required.
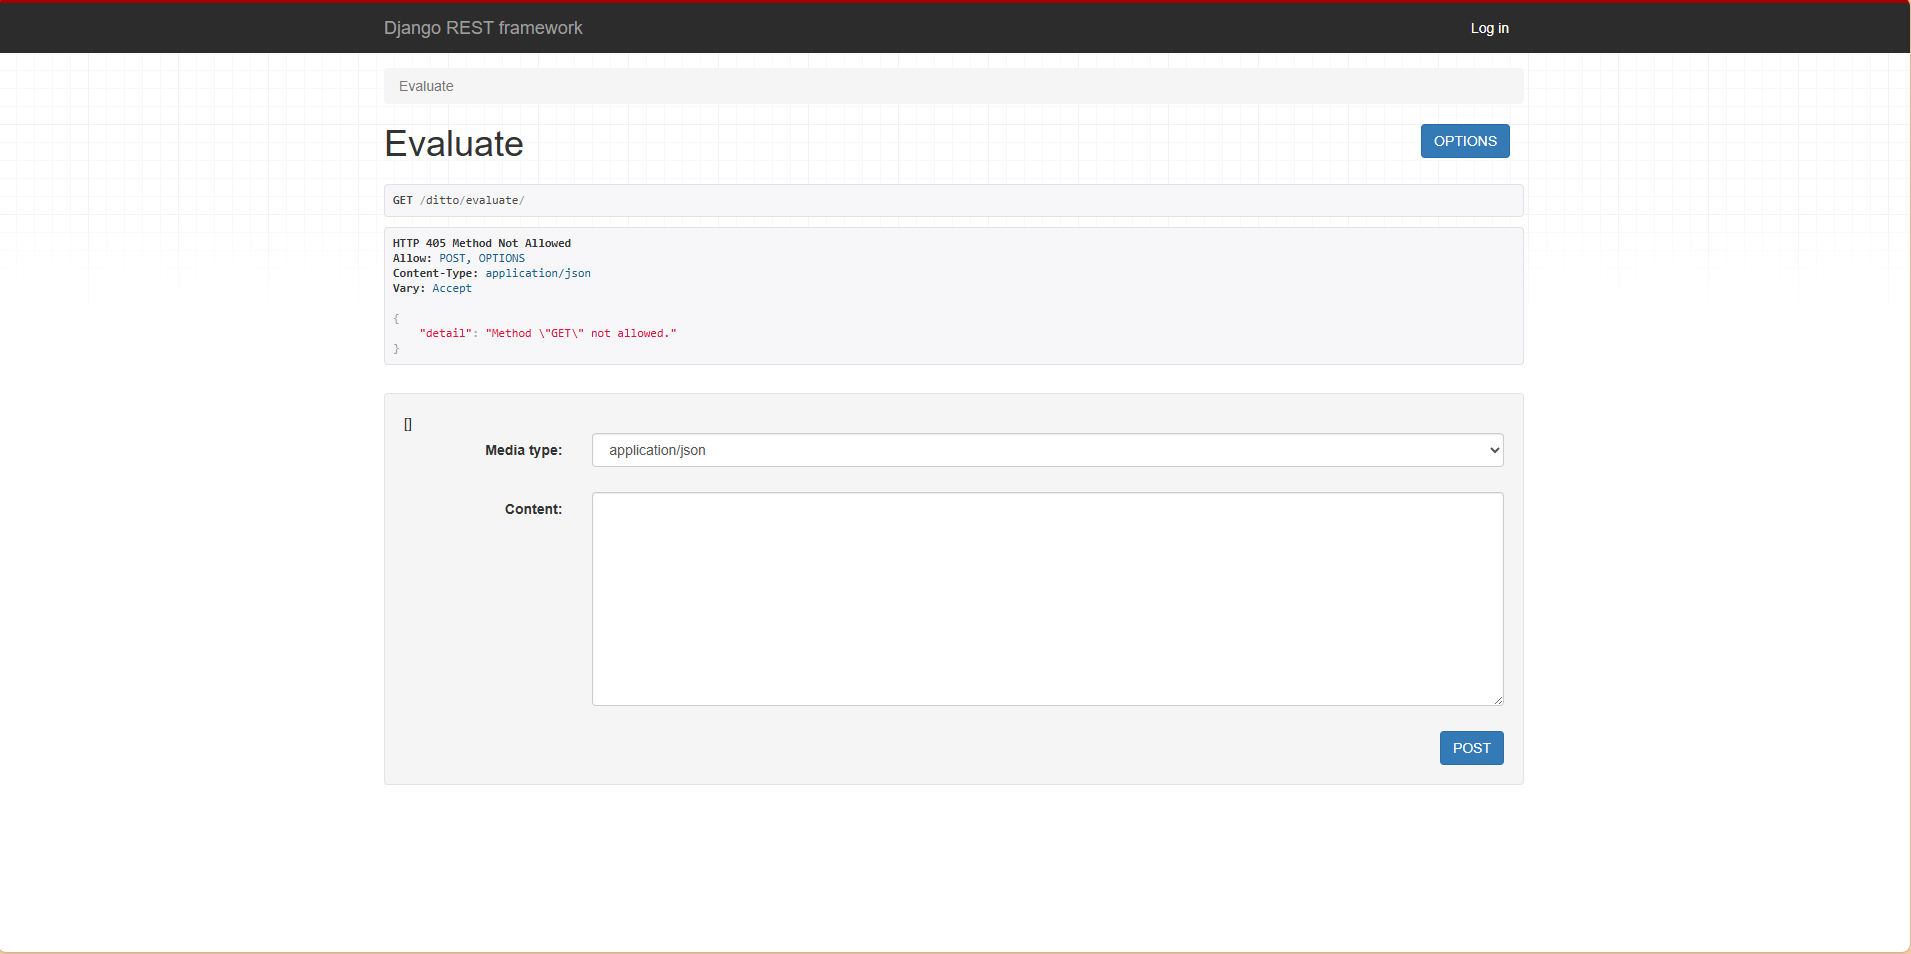
Validate Installation
After successful deployment and configuration:
Open a web browser and navigate to: http://localhost/api/django/evaluate
If the page loads correctly and displays the expected content, the installation is complete.
Troubleshooting
If the installation fails at any stage, refer to the Deploying Django on Windows Server with Apache HTTPD section for detailed instructions on setting up the application manually. Common issues include:
Python not being added to the system PATH.
Apache not restarting after adding configuration.
Missing permissions for Apache to access the
htdocs/dittoprojectdirectory.Failure on
mod_wsgiinstallation.
For additional assistance, consult the application logs or contact support.